How to add a printer from your computer/laptop
This self-help document will help you get started with adding a printer, setting a default printer and changing printer preferences from your PC.
It should be noted that on new machines that are deployed by IT, this extension has been preinstalled.
Windows 10
Step 1a - Microsoft Edge instructions
Please go to the following web page:
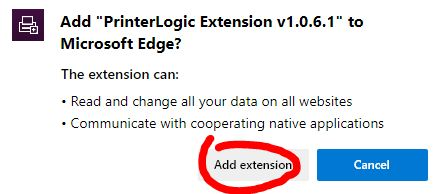
Then click the add extension button:
Step 1b - Google Chrome instructions
Please go to the following web page:
https://chrome.google.com/webstore/detail/printerlogic-extension-v1/bfgjjammlemhdcocpejaompfoojnjjfn
Click the Add to Chrome button to install the extension as shown below. If the button says Remove from Chrome, the extension has already been installed, please go to Step 2.
Step 2 - Go to the website - https://ymcahbb.printercloud15.com
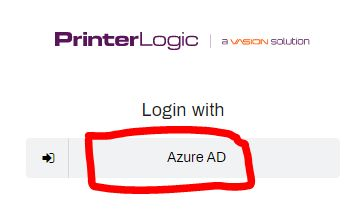
It will prompt you to login with Azure AD (Office 365). Click the Azure AD button and authenticate with your YMCAHBB email. If you are already signed in on the browser, you will not need to sign in.
Step 3 - You can now browse the directory by location to install any printer across the association. If you are not seeing the respective printer you wish to add, please reach out to hbb.support@ymcahbb.ca for guidance.
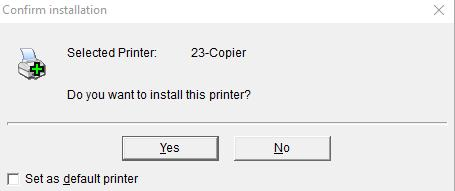
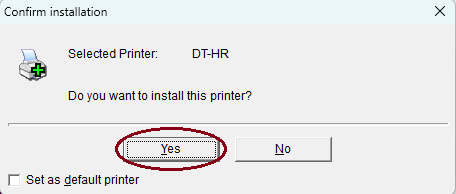
Step 4 - Once you have found the printer you want to install, click on the device and the following pop-up will appear:
If you would like the device set as your default printer, select the check box shown above. Click yes to install the printer.
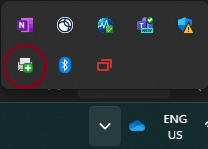
Step 1 - On the taskbar to the left of the clock Click the upward arrow ^ to see hidden icons

Step 2 - Click the Printer with green box icon
Step 3 - A webpage will open showing all of the networked printers

Step 4 - From the folder tree on the left Click a folder to show the different locations

Step 5 - Click the location of the printer
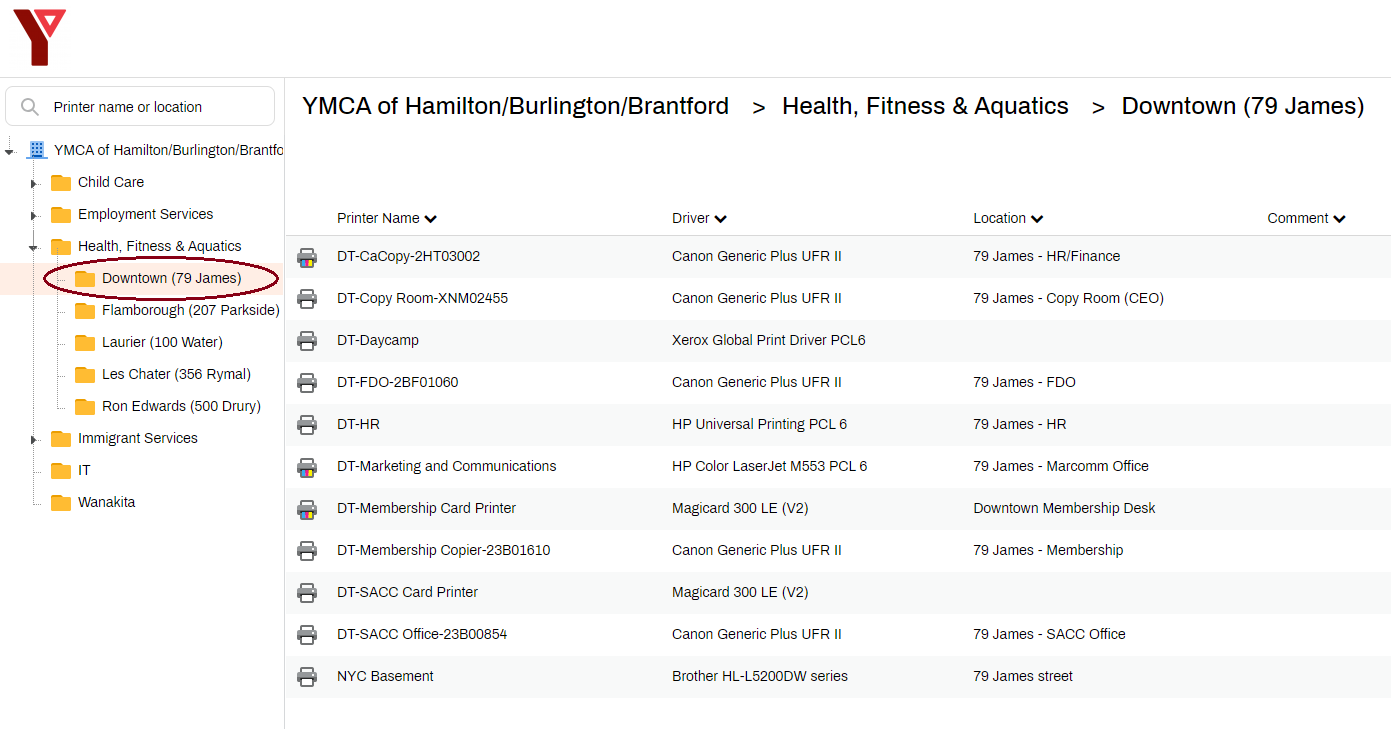
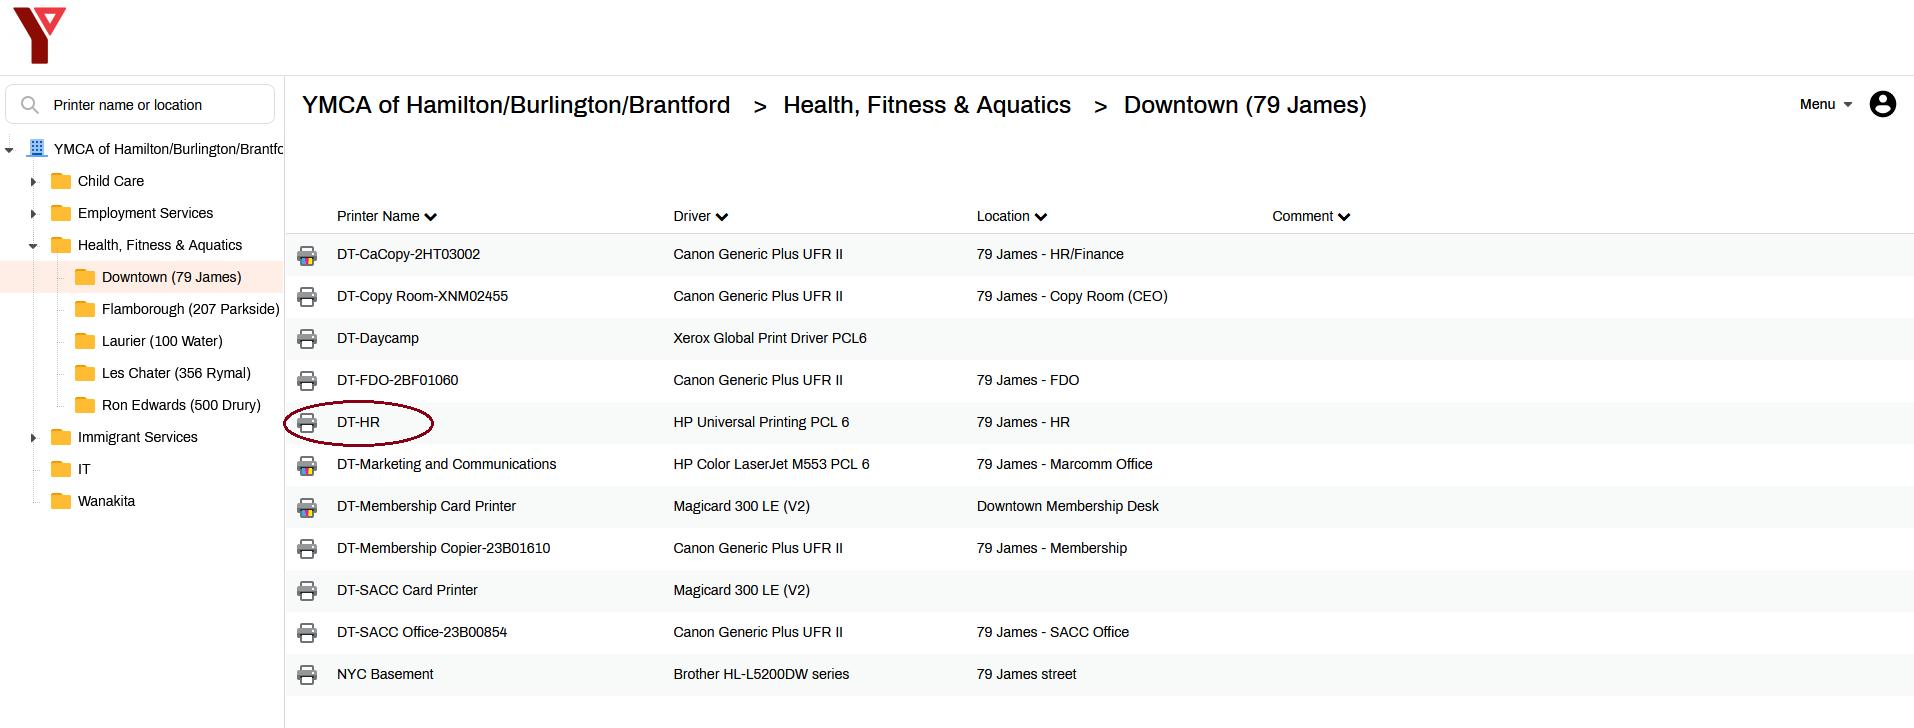
Step 6 - Click the Printer you would like to install
Step 7a - On the pop-up you can Set this printer as the default one - not necessary but can make it easier if you have multiple printers installed and the one you're about to install is the one you use most frequently
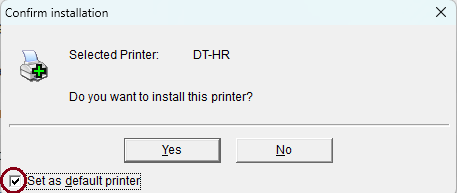
Step 7b - Click Yes to start the Printer Install
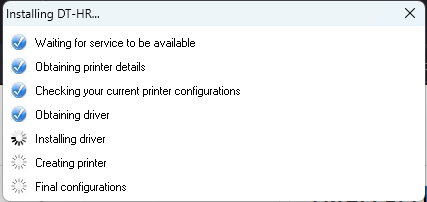
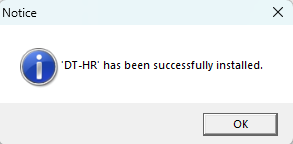
Step 8 - Success! The printer is now installed and can be used
