How to add a printer from your computer/laptop (Windows 11)
Step 1.1 - On the taskbar to the left of the clock Click the upward arrow ^ to see hidden icons
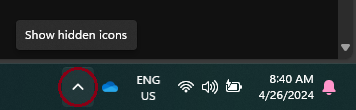
Step 2.2 - Click the Printer with green box icon

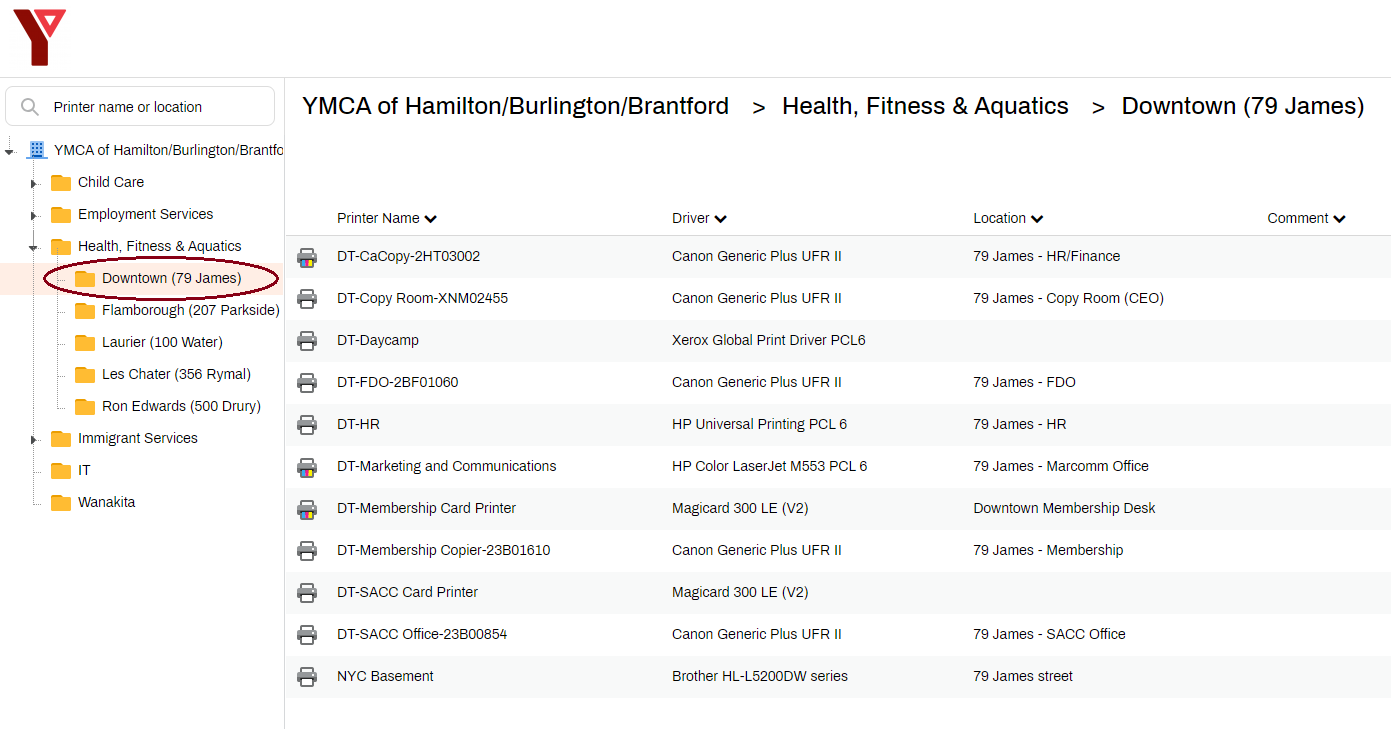
Step 3.3 - A webpage will open showing all of the networked printers
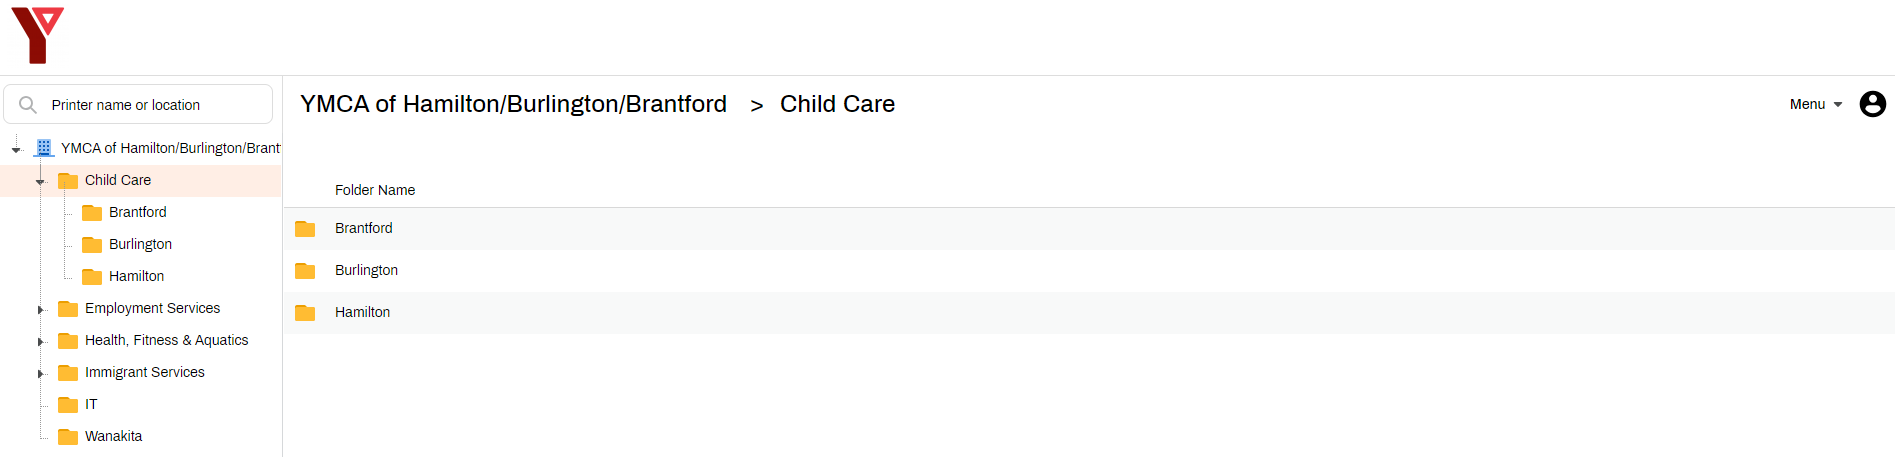
Step 4.4 - From the folder tree on the left Click a folder to show the different locations
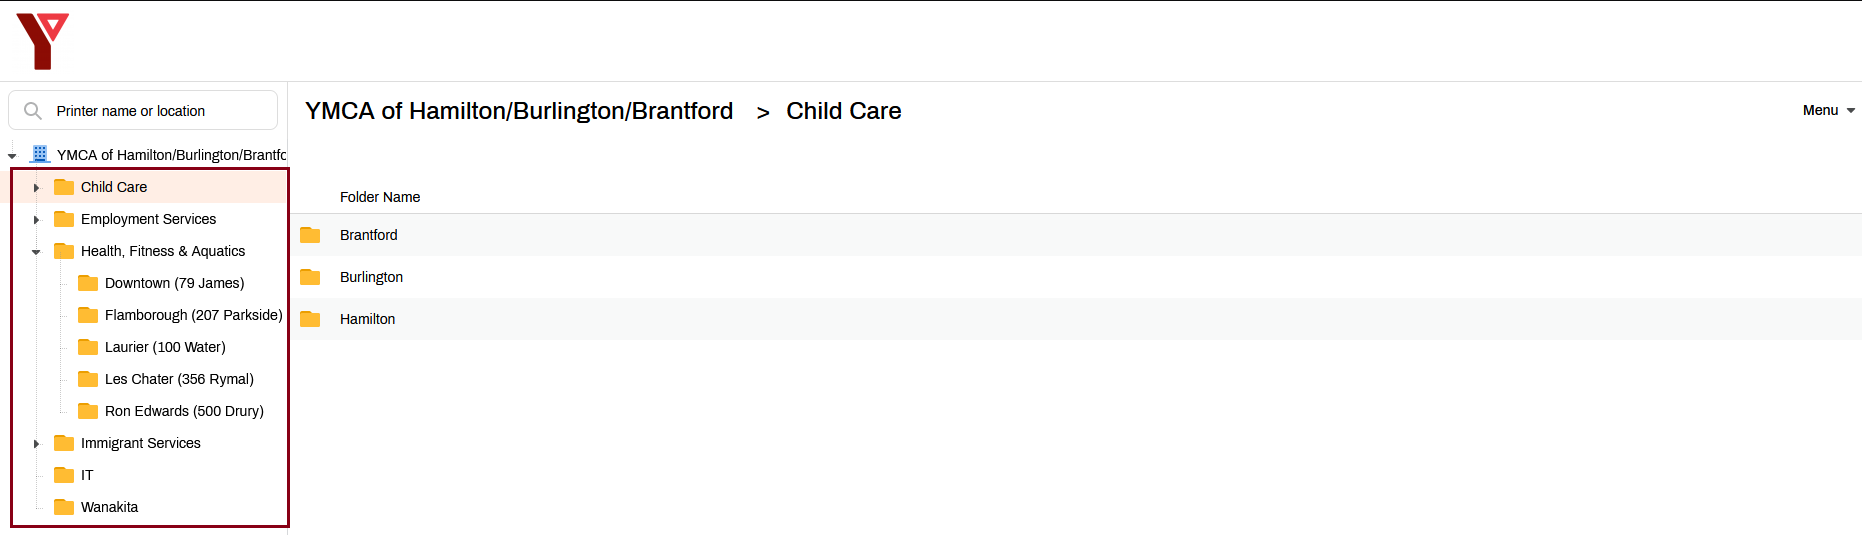
Step 5.5 - Click the location of the printer
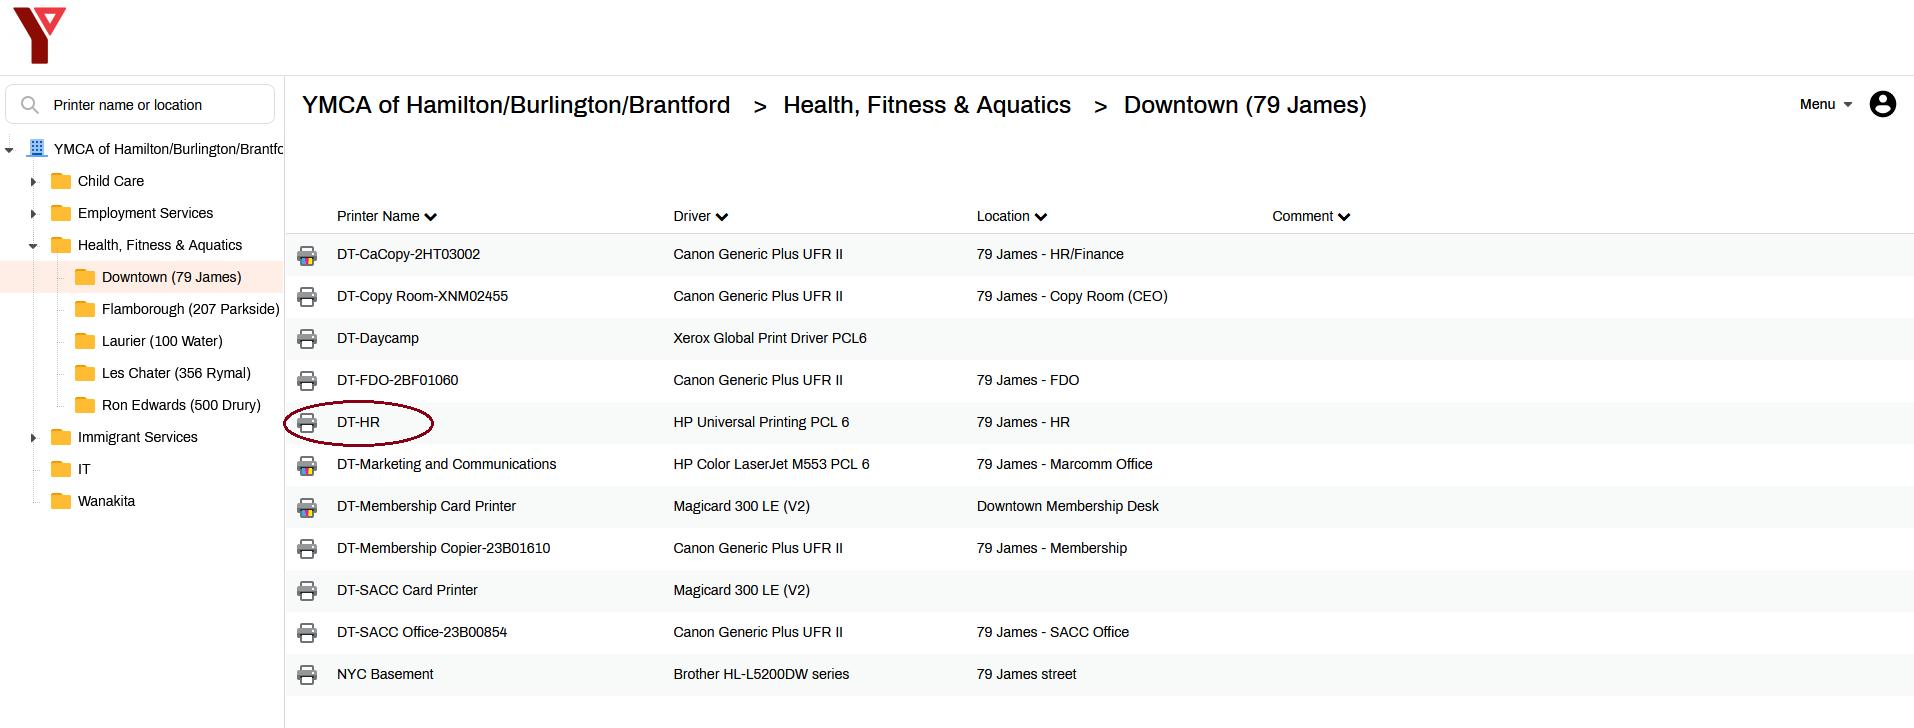
Step 6.6 - Click the Printer you would like to install
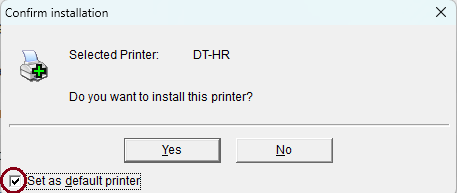
Step 7a.7a - On the pop-up you can Set this printer as the default one - not necessary but can make it easier if you have multiple printers installed and the one you're about to install is the one you use most frequently
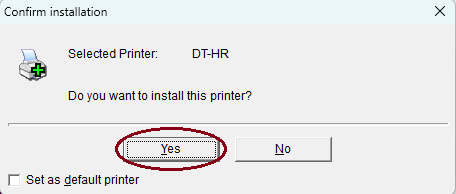
Step 7b.7b - Click Yes to start the Printer Install

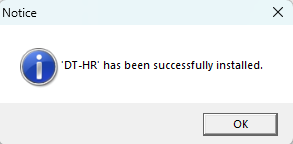
Step 8.8 - Success! The printer is now installed and can be used