
Secure Printing
What is secure printing?
Secure Printing will hold the print job at the printer and it will not be printed until it has been released from the mobile application. This ensures the print job makes it into your hands, remaining secure.
This guide has two prerequisites that need to be completed.
The first is adding a printer through the application on your desktop/laptop. Please follow this guide before continuing:
https://help.ymcahbb.ca/books/printerlogic/page/how-to-add-a-printer-from-your-computerlaptop
The second is installing and configuring the application on iOS. Please follow this guide before continuing:
Currently the secure printing setting is disabled globally but can be enabled with a few simple steps.
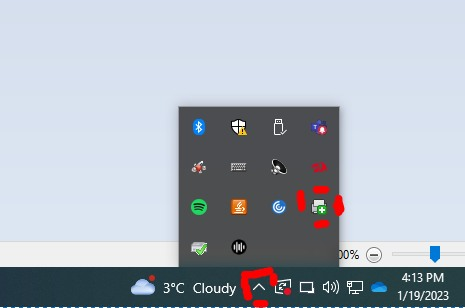
Step 1 - Left click the up arrow in the task tray. Then right click the icon that looks like a printer with a plus symbol.
Then ensure that it says "logout *currently installed user*" (In this case logout thomas.salvo@ymcahbb.ca) which means you are signed in correctly to the application.

If it says Login with Idp... left click that option to complete the sign in process to your Office365 account through your browser.

Step 2 - Left click the up arrow in the task tray. Then right click the icon that looks like a printer with a plus symbol.

Then highlight Pull Printing and select Secure Print Settings.

From the following window you can configure your printer to use Secure Printing by selected the drop-down error:


The options are:
Default (No - disables secure printing)
No (disables secure printing)
Yes (Every print job will need to be released from the mobile application)
Prompt (Prompt user to release job immediately or hold for secure release)
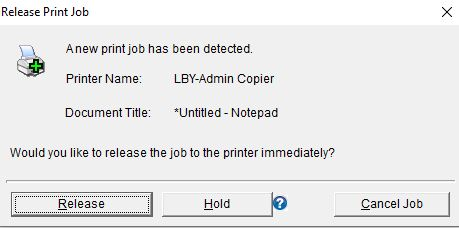
If prompt has been selected, the next time that your print to that machine, the following pop-up will appear,
Selecting Release will print the job immediately bypass secure print. Selecting Hold will hold the print job and require you to release it using the mobile application.
Step 2 - If you selected Yes to always secure print or have held a specific print job using the prompt function, the next step is opening the PrinterLogic application on iOS.

Step 3 - Ensure the tab at the bottom that says Print Release, is highlighted in orange. Select the document(s) and it(they) will highlight with a checkbox.

After the document(s) has been selected, click the print icon shown below to process now. If you select the trashcan icon, it will remove the items from your print queue. It should be noted that every 12 hours all user's queues are cleared automatically.

After you have selected the print option, click the print icon shown below to process now. If you select the trashcan icon, it will remove the items from your print queue. It should be noted that every 12 hours print queues are cleared automatically.
Step 4 - The following screen will appear and require you to select the printer that you send the print job to. Please select it and then push the orange button show below to release that print job.

Step 4 - It will now show you success confirmation window. Please hit Ok and you are finished.
